
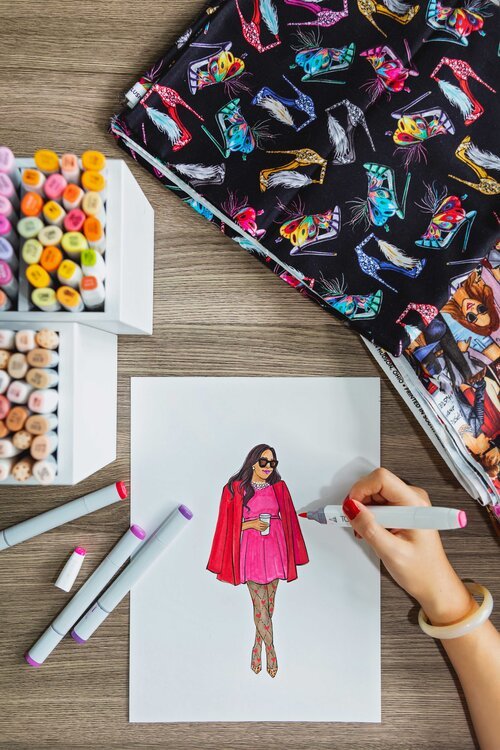
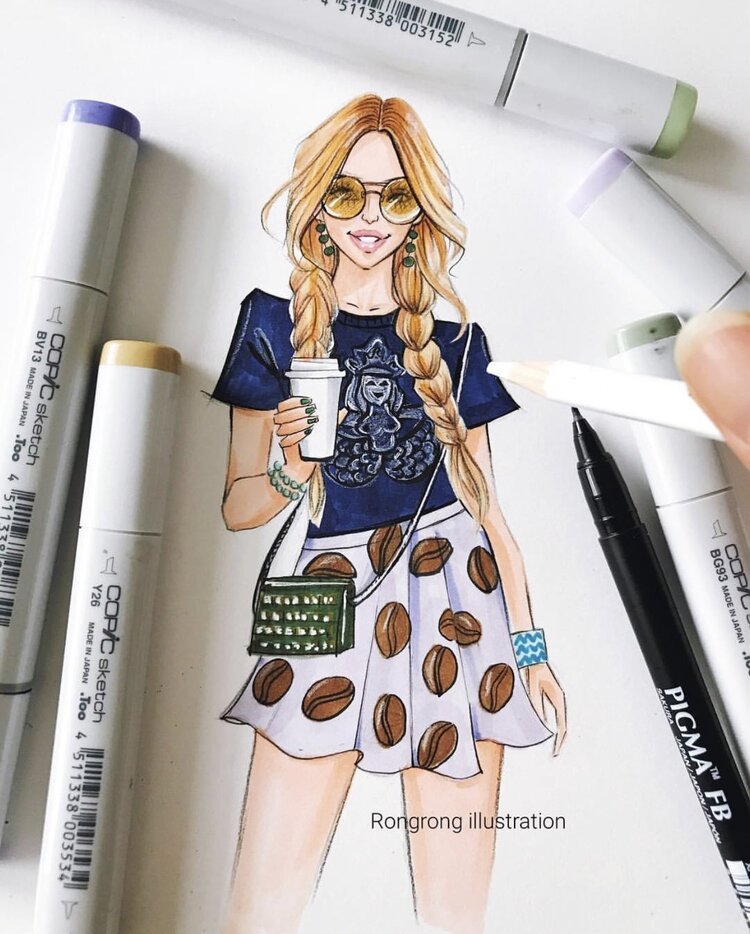
How To Draw Faces in Fashion Illustration, Step by Step
Faces: a highly dreaded subject when it comes to fashion illustration! It’s for good reason, though, because I won’t lie - it is one of the hardest and most challenging aspects for artists and fashion illustrators alike.
Each face that you sketch is incredibly unique with certain nuances and differences. Yet, like anything else in life, with sufficient practice and dedication, you can absolutely conquer your fear of drawing faces. This blog will serve as a starting place for you to begin getting better and better!
What is Fashion Illustration?
Fashion illustration is integral to the fashion world. A fashion illustrator is someone with great creative skills that can work closely with fashion designers to support them in making their fashion pieces come to life.
Together as a team, the fashion designer will share their concepts, including fabrics, cuts, pleats and colours for their creative looks and the illustrator will be responsible for listening closely and drawing mock-ups. Oftentimes, there will be many mock-ups necessary due to the intricacy of fashion.
There are plenty of fashion items that a fashion illustrator can work on, including shoes, accessories, jeans, dresses, t-shirts and more. The job of a fashion illustrator is very exciting as every project, fashion house and designer is unique.
That is not all fashion illustrators can do, however! Fashion illustrators can focus their skills on the editorial illustration space, fashion and beauty packaging, live sketching, and even selling their work online, at markets or in galleries. Depending on individual goals, fashion illustrators may wish to be self-employed, work in a fashion boutique, at a magazine, or in a design studio.
Being a fashion illustrator invites you into the intricate fold of fashion history. Fashion illustration has been around for decades, more than 500 years, since humans began to wear beautiful intricate clothing. It’s a real honour!
What Does Drawing Faces Have to Do With Fashion Illustration?!
You might be wondering, why does it matter if I can draw faces?! I am drawing bodies and poses!?
Well, to give off the full fashion concept, and to properly bring the designer’s pieces to life, the silhouette needs to be finished off with complete–and accurate–faces.
Being able to translate the looks as accurately as possible will help your skills to stand out amongst the crowd and be able to offer your clients or fans complete and finished pieces.
People everywhere–whether they are in the industry or not–are aware of how challenging drawing faces are. It’s common knowledge. This means that if you can master it, people will be even more impressed and drawn to your work. It opens a ton of avenues!
How to Draw Faces
A common mistake that people make when drawing faces is not appreciating and understanding facial proportions. Facial proportion is about the relationship in size and placement between different areas of the face. For example, the spacing between lips and nose, eyes and eyebrows and their space concerning each other.
While you probably will approach profile and other angles, let’s start with drawing a face from the front as it helps master facial proportions.
Step 1: Draw a circle with a cross in the middle
Firstly, sketch a circle with two intersecting lines that connect right in the middle. The circle represents the top portion (ie: eyes, eyebrow, forehead) and the intersecting lines will help you determine the other facial features.
Step 2: Draw a square inside of the circle
The next thing you will want to do is draw a square, so every corner of the square is touching the circle. Looking at your square, you can see how different sections will transform into different areas of the face. For example, the top line will be the bottom of the hairline and the bottom line is the nose area, and the centre line is your brow line.
Step 3: Sketch on the chin
Using the bottom line of the square from step two, you will want to mark a spot for the bottom of the chin. Yes, it will be outside the lines you’ve already drawn. Then, complete the jawline from each side of the square to the marked spot. Good job!
Step 4: Determine the eye location & draw them in
Finding the brow line and nose line, you can use this to help determine where the eyes should land on the face. A good rule of thumb is that the eyes are generally in line with the centre of the head. Using the brow line from step one, the eyes should be just under this line, in the centre.
Once you determine where the eyes are located on the face, it's finally time to sketch them. While every eye will be different depending on the type of face you are drawing, it is very important, for aesthetic purposes, to be mindful of eye measurements. The width of the head, from ear to ear, generally measures the same length as five "eyes".
Step 5: Nose time
Usually, the bottom of the nose is around the bottom line of the square drawn in step two. Naturally, the width of the nose will be different from person to person, but a general note is that the nose can be as wide as the inside corners of the eyes.
Step 6: Pucker up
Again, the mouth is a facial feature that will be different for everyone you draw. However, a good place to start is placing the mouth slightly higher than halfway between the bottom of the nose and the chin!
Another great way to think is to lean on the eyes to help determine the width of the mouth. Consider the corners of the mouth and aim to align them with the inside edges of the eye's pupils.
Do you wish for your model to be smiling? You go! I'll be honest, mouths are challenging to draw when grinning with teeth showing. With teeth avoid drawing dark, hard lines between every tooth as it makes them too separate and dark. Rather, the teeth at the front should be whiter, but as they go back, you can apply more shading to give them a textural, dimensional look. Note that the bottom teeth are a shade darker than the top.
Step 7: Ears
Your face won’t be complete with the ears! You can use the brow line you drew previously to help align the ears. So, use the brow line to sketch the top of the ears and align the bottom of the ears with the nose line. Again, this doesn’t have to be perfectly exact as humans’ ears are all unique!
Step 8: Hair, please
If you are drawing for women's fashion, hair will be a fun element that you get to play around with. Even if you’re doing men's fashion you will still need to work on hair–and you can play around with length and texture.
The hairline is found on the top edge of the square in step two! Depending on the sex of your model, the hairline may or may not be visible.
Once the hairline is set, you can begin to add in the luscious locks. If you opt for a shorter hair moment, it will only slightly extend off the top of the head, whereas longer, or curlier hair may extend more.
Step 9: No more floating head
We don’t want a floating head! Instead, the neck can be drawn from the bottom of the ears. Do keep in mind the women’s necks tend to be slenderer while males have broader necks than Adam apples.
Here’s a quick recap of some tricks above:
The eyes should be in the middle of the head.
The corners of the inside of the eyes are in a row with the sides of the nose.
The "mouth" line is approximately one-third under the "nose" line and the bottom of the chin.
The inside portions of the pupils should line up with the side corners of the lips.
Shading
Shade is a key element when drawing faces to ensure it is a realistic interpretation. Shading simply adds darkness and lightness to a face and can help translate tone.
Typical areas to add darker shading are around the eyes, beneath the nose/bottom lip and chin. Lighter shading can be focused on the nose, cheekbones, chin, and lower lip.
The Secret Lies in Practice

Okay so maybe practice makes perfect isn’t a huge secret, but it is massively important! When you first start to master drawing faces, it can be easy to get frustrated or disheartened. This is because it is genuinely a hard part of drawing–for anyone and everyone.
Using my tips above is a fantastic starting place because once you know how to start drawing a face with specific proportions and locations of the important facial features, you can translate this into many different people’s faces!
It’s super important to remain positive and enjoy trying different shades, shapes and sizing when drawing various faces. This is what makes drawing portraits so exciting because there are no two faces that are exactly the same! A true artist will be able to translate portrait drawings in the original likeness of their muse or inspiration. And no face is perfect, there are always unique nuances and beauty.
So, try not to don’t allow yourself to get too disappointed or down because if you make a mistake, there’s a chance it’s a happy mistake! If your proportions are a little odd, you may be able to fix it with a piercing, hair bangs or varied shading.
Technical knowledge is only part of mastering drawing a face for fashion illustration. The other part to rely on is your raw talent and being confident in yourself. It really comes down to what I said earlier: you must practice plenty to get the best results! You should never stop learning.
My Free Masterclass on How to Draw Face and Hair
Speaking of never stop learning, have you heard of my FREE Masterclass on How to Draw Face and Hair, yet!? It’s a special course designed specifically for anyone who wishes to improve their ability to draw faces, hair and focus on details. You will also learn tons of tips and tricks from me. Some things you can look forward to in my Masterclass is:
Master the basics of drawing faces and hair
Develop more confidence as an artist
Illustrate a variety of facial features in any ethnicity - diversity is a pillar of my brand and I love sharing with others how to improve on accurately depicting all people
Master body proportions
The master course is designed to be self-paced and it is free! You obtain lifetime access to the class so you can continue to revisit it again and again. It comes in the form of a video tutorial, for continued learning to keep practising drawing faces and facial expressions.
Some of the clients I’ve worked with have been Chanel, Louis Vuitton, L’oreal, Nordstrom, Maybelline New York, and many more and my art and products are for sale at national retailers such as TJMaxx, Michael’s, JoAnn’s, and Hobby Lobby! I’ve dedicated my entire life to being an artist through fashion illustration and I absolutely love my job and life and am super happy to share with flourishing artists to become their best selves.
To learn more about the course and to continue your learning of drawing faces, you can purchase my special course here!
To Conclude
I sincerely hope that after reading this blog, your initial dread and fear of drawing faces has subsided. The tips and tricks that I’ve provided are an exciting starting place for any beginners to start mastering drawing profiles and portraits. Use my tips to practice and experiment with different eye shapes, eyebrow angles, nose lengths/widths, ear shapes and more. Just keep drawing and drawing–face after face! It’s a great idea to identify your common errors and keep attempting to overcome them through practice and challenging yourself.
Happy sketching!