Posts in fashion illustration
8 Years in Business and 5 Tips I Have Learned From It
rongrong 8th biz anniversary

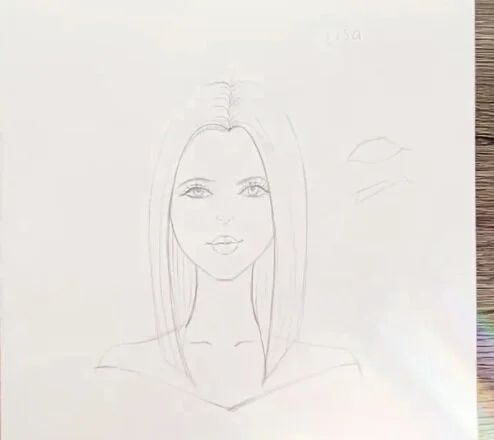
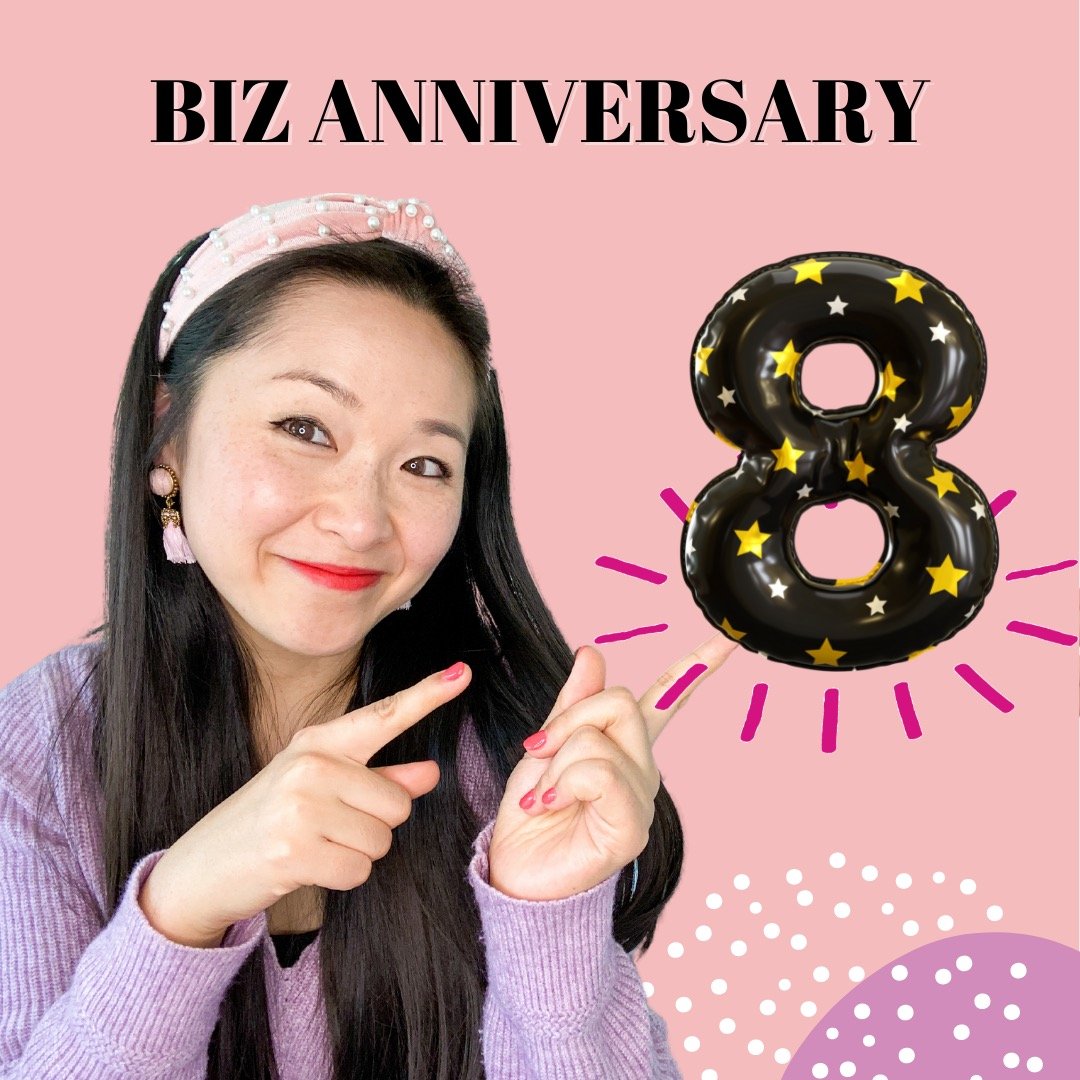
Time flies! I can’t believe today is my 8th business anniversary. When I started sketching my very first fashion drawing on my apartment kitchen counter, I could never imagine that 8 years later I would have built a brand to inspire and empower women all around the world. 

12 years ago, with broken English and a dream to be a fashion artist, I flew across the world from Shanghai to New York City. I remember there were many of my schoolmates thinking I was silly giving up a career as a game designer plus a potential engagement to come to a strange land and take a shot at being a full time artist. But to me, the dream was everything. If we don't have dreams and goals to look forward to and work hard toward to what’s the point of living? I knew the second the airplane landed at JFK airport, I was on a mission. 

After a few years of working with luxury brands like Chanel and Louis Vuitton, I realized that the glamorous fashion shows and celebrity red carpet were not my interest. They didn’t light me up. Instead, I loved to draw everyday women. I wanted to draw women that we all can relate to. I put my focus on drawing holidays, special moments, friendships, and motherhood. So many have told me they see themselves in my drawings. There is no better feeling than to hear that, so I kept going. My work started getting attention from retailers like TJ Maxx, and Hobby Lobby. It was also getting noticed by the planner community, where I started to produce planners, and stickers of my art! Today, I have a busy e-commerce store and license my work to retailers around the world!

I look forward to what this journey will bring me and continuing to share my art every day. I am so grateful for all of you to be on this trip with me.

If you are thinking about starting your side hustle or your dream business, here are 5 things I can share with you.

  1. It’s a mindset game - Business will always have ups and downs. Having mental toughness is the most important thing to carry you through the lows and keep you grounded through the highs.

  2. Get comfortable with pivoting - The economy and consumer behavior is changing. Going with flow is important to keep you relevant. For example, I have always sold my art prints and original art. However, because I got many requests from the planner community I started creating planners and stickers with my art. Always listen to your customers!

  3. Customer service is everything - Serve your audiences with the best experience. I have spent a lot of time in the back end of my business to speed up our shipping time, and talked with our manufacturer to provide the best quality products possible to my customers.

  4. Hire a team to grow - Hire your weakness. Remember, you can’t do everything. That area you may not be doing well with, don’t hesitate to hire professionals which will save so much time and have a way better result.

  5. Always be learning - I am an artist first and foremost but in order NOT to be a starving artist I also spend a lot of time learning the business side of being an entrepreneur. Learn from people who are doing what you would love to do. Invest in yourself, success leaves clues.

Whether you just found my art, or have been following me for awhile ... thanks for being here! Cheers to 8 years in business and look forward the next many many years to come!

Love,

Rongrong

Shop planner and stickers: www.shoprongrong.com

Shop original art and prints: www.rongrongart.com

Learn how to be a thriving fashion illustrator: https://www.rongrongdevoe.com/fashion-illustration-course

How to Draw Faces - Part Two

Hi Friends! Today I want to show you all how to draw faces! In this part we will focus on coloring in your face drawings. To learn the steps of drawing a basic face, check out part one on the blog here: https://www.rongrongdevoe.com/blog/how-to-draw-faces-part-1

Watch the video below for a 20 minute tutorial and read on for a list of steps on how to color your face illustration. All you need is colored pencils or markers and your sketch of a face from part one.

This is a skill that intimidates many people in the beginning of their art journey so I am here to help remedy that! All you need is a pencil, paper, markers or colored pencils, and an eraser!

The first thing to do is to lighten your pencil lines from your original drawings with an eraser. You don’t need the lines to be profound as they are just guides for your color. Erase to the point where only you can see the lines.

First Rule for Coloring:

  • Wherever you touch color, whether its hair or face or clothing, start with the lighter color. Build the color light -> medium -> dark. (If you want to see specific colors I use, watch the video)

Tips for Coloring the Hair:

I like to start with the hair when coloring.

  1. Always use long strokes while coloring. It gives your art a smoother look.

  2. Do the left and right side together (Don’t finish the hair, eyes, or anything on one side before doing the other. This can make them look unmatched.)

  3. Make sure to fill in the hair from behind the head / neck.

  4. Once your have the base lightest color on, move onto the medium color. Use this for shadows (hair behind the head). This adds more levels to your work and makes your drawings look more vivid. With the medium you should also darken the roots and can add a few longer dark streaks in the hair.

  5. Finally add the darkest color. Close to the neck is the darkest. I have learned this from observing family and friends in real life - so I recommend really looking at your family and friends and what their hair and features look like to learn for your art. Also darken the part on the top of the hair.

Steps for Coloring the Face:

  1. I tend to use two shades on the face. Like before, start with the lightest color and use long strokes. If the color feels too light a 2nd layer of the same color can help.

  2. Apply a medium shade for shadows under the eyebrows, on the side of the nose, under the hair, under the nose, under the lips, the side of the mouth, under the chin on the neck, on the collar bones, and the shadow between skin and clothes.

  3. Now onto eyes which are the most important to portraits. First pick your color, then use a fine brush pen to outline the eyes. When outlining the eyes, follow the pencil lines from earlier and use long strokes. Then you can add some eyelashes. Don’t forget to draw eyebrows!

  4. Use the same brush pen to outline the nose and lips.

  5. For the lips, pick your lip color then use a black brush pen to outline the middle of the lips. Then add just a tad bit of line under the lip. Never outline the upper or full lips as it looks more cartoonish.

  6. Refine the face with your brush pen. Do this slow and steady because you can’t change it after the fact if you aren’t drawing digital.

  7. Outline the hair wherever the hair and face connects. Add some natural strands of hair so it doesn’t come across stiff and too perfect. Now you can outline the shoulders and start working on the clothes.

  8. To add a bit more depth you can use a white gel pen to add highlights to the eyes and lips.

Drawing and coloring faces is really all about practice. To keep improving your illustration skills, sign up for my course Fashion Illustration 101. In the course you will learn how to draw inspiring fashion illustrations and even make money from your art! It’s time to invest in your passions, learn more at: rongrongdevoe.com/fashion-illustration-course

Book Recommendations:

  • Steal Like an Artist - Austin Kleon

    • This book talks about how to combine your creativity with others and add your own spin on it. It covers why there are no new ideas and how to become a better artist buy standing on the shoulders of the greats.

  • Show Your Work - Austin Kleon

    • This book goes over how to get out of your own way with judging yourself and instead put your work out there to the world.

  • Art Inc. - Lisa Congdon

    • This is the essential guide to building your career as an artist. It goes over practical ways to monetize your art.

How to Draw Faces - Part One

Hi Friends! Today I am going to show you how to draw faces! This is an essential skill that sometimes can be a bit intimidating for beginners! Proportions can be difficult but once you master them you can draw all kinds of people.

Watch the video below for a 20 minute tutorial and read on for a list of steps on how to draw a face. All you need is a pencil and paper!

In part one we are sketching the face and in part two I will teach you how to color in your illustration.

Before we get started I want to let you know the paper I am using is Strathmore Bristol Paper - Smooth Surface.

Steps to make the head shape:

  1. Think about the size you want the head to be first. Then sketch out a line for the top and bottom of the head, then left and right of the head.

  2. Divide the square shape you have in half first vertically then in half horizontally.

  3. Connect your four lines together, thinking of it as an almond shape. The top half of your circle will be wider (the forehead section), and the bottom half will be narrower (the chin section).

  4. Now that you have a rough shape of the head, sketch out the neck relative to the size of your head. Remember to make it not too thin and not too wide. To see an example check out the video above.

  5. Now divide the top half of the head into 3 parts horizontally, repeat this in the bottom half. You should have 6 sections total.

Steps to add the detail of the face:

  1. The top line you have made inside your head shape is going to be the hairline. Remember hair has thickness so as you sketch out the hair add volume above the head. Its okay if it is a rough sketch at first! Just focus on getting the shape of the hair you want.

  2. The second line is going to be where you draw the eyebrows. I like to make an angled shape for the eyebrows.

  3. The center line is going to be the eyes. This is a VERY IMPORTANT SECTION. I like to think of eyes as a sideways leaf shape. Then I add another layer above for the eyelid. Finally add the shape of the eyeball and big lashes to make the eyes pop! Tip: Draw both eyes before moving on to make sure they look even.

  4. The next line down is the nose. This is not something I emphasize in my faces, I just add a hint of a nose. The eyes are always my main focus with my faces.

  5. The final line (one up from the chin) is going to be the bottom of the lips. To make a smile tilt the lines of the mouth slightly up.

Remember: You can edit as you go through your sketch! It does not need to be perfect.

Next Steps and Tips:

  1. Erase your extra guidelines once you are happy with your face layout. (I use a kneaded eraser because it leaves no crumbs on the paper when you use it).

  2. Usually I draw hair that covers ears, but if you are not they fall around the center line (where the eyes are).

  3. Now is the time to go back through and perfect the lines, adding a bit more detail.

  4. Hair: I like to draw more strands at the roots and draw some going down the hair. Also add more strands towards the front of the head.

  5. I draw a collarbone at the end of the neck because it is a sign of femininity. I think it adds some elegance to my girls.

  6. Emphasize: Emphasize the eyes and add more energy here. You can draw any makeup definition just like real life! I like to add eyeliner to my faces with a darker upperline on the eye. I also add a darker line to the middle of the lips to show separation between the top and bottom lips.

Once you have a basic face you can change the details, you just need to learn the proportions of a face! It’s really all about practice. To keep improving your illustration skills, sign up for my course Fashion Illustration 101. In the course you will learn how to draw inspiring fashion illustrations and even make money from your art! It’s time to invest in your passions, learn more at: rongrongdevoe.com/fashion-illustration-course