Posts tagged Fashion Illustrator
New Arrivals of Rongrong Products at 1600 Ross Stores Nationwide!

One of my biggest dreams as a fashion illustrator is to see my work in major retailers, so I’m very excited to share with you this new announcement!

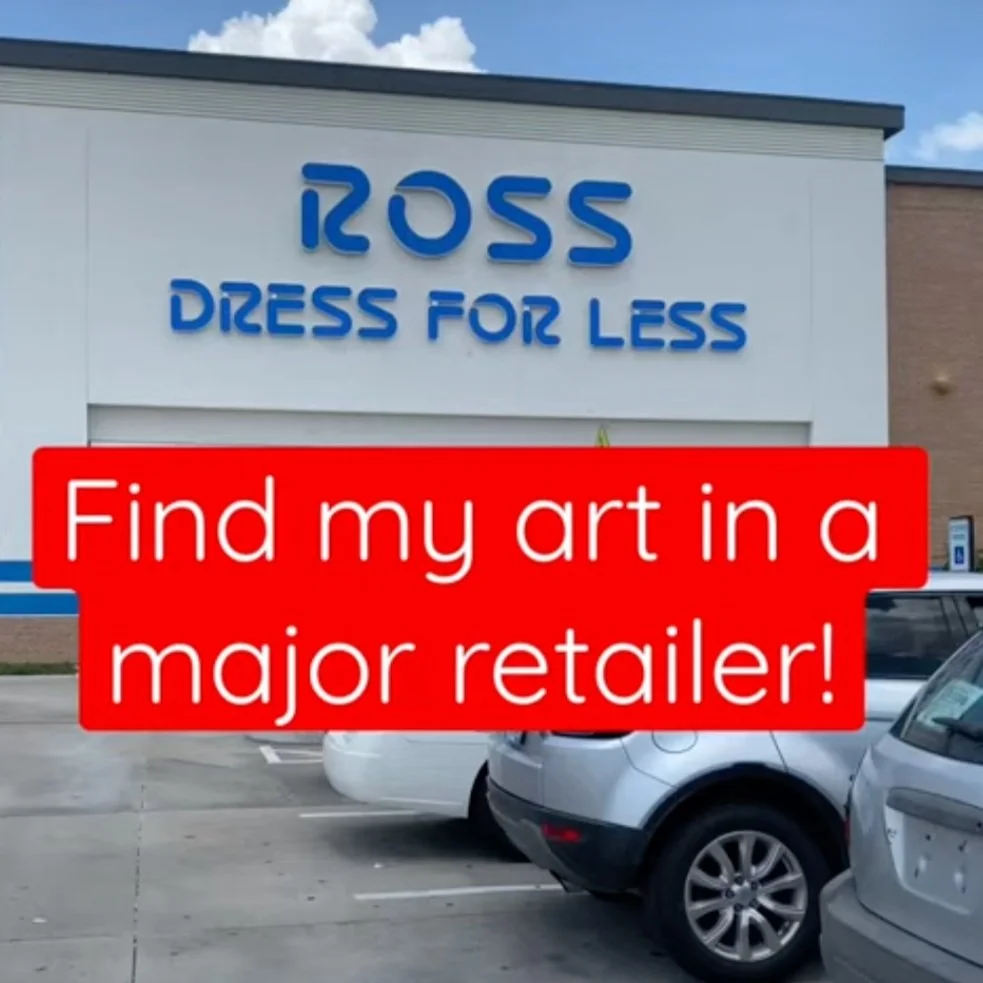
You can find my art on new products in 1600 Ross: Dress for Less stores nationwide! 🤩

Being able to license my art is such an amazing way for me to share my creations in a different way, with a whole new group of people (along with my already amazing group of fans.) Through art licensing, I can share my fashion illustrations on more than just stickers and art prints! Check out the video down below to see the whole range of lifestyle products featuring Rongrong’s fashion illustrations that are now at Ross!

I am so thankful to Ross: Dress for Less stores for trusting me as a licensing artist to create art for their products! Go search your local Ross store and see what you can find!

Here’s a list of what to keep your eye out for:

  • 2 different Rongrong hairbrushes (a standard and a detangling hairbrush)

  • 2 different Rongrong magnifying mirrors (a girl boss mirror, and a time to shine mirror)

  • 3 different Rongrong compact mirrors (one featuring my iconic pug in a bathtub art, one with “the future is female” art, and one “Fryday” lipstick art)

  • a set of faux lashes


I recently went to my local Ross store here in Houston and was so nervous to see if they would have any of my products! The thing with Ross: Dress for Less is that because there is no online catalog and so many stores have different stock — you have to go out and scour through the store! It was so fun to go and search for my new arrivals, it felt like a treasure hunt! If you want to watch my trip to Ross to see what I could find, check out my mini vlog below!

If you go treasure hunting for new Rongrong products at Ross — tag me in what you find! I would love to see what you get.

You can find me at: Instagram / Facebook / Facebook Group / Youtube


Leave a comment down below, or on other social media, and tell me what products I should do art licensing for next! Also what stores would you LOVE to see Rongrong’s fashion illustrations at? I love to hear from everybody and see what you all think!


Now if you are interested in learning more about art licensing in general or how to license Rongrong’s art in particular check out my page on all of this here.

As a licensing artist, Rongrong has worked with realtors from such as Target, TJ Maxx, Marshalls, JoAnn, Michael's, Hobby Lobby, Ulta Beauty, Hallmark, Nordstrom, and more!

Product categories that are available for licensing include apparel, fashion accessories, cosmetics, stationery, calendars, greeting cards, gift, tabletops, home textiles, wall décor, luggage and more.

When you license Rongrong’s art you are supporting an Asian American small business and creator to share her message of female empowerment, self-love, and diversity with others! Find out more about the artist and her work here.


Shop my planner & stickers: shoprongrong.com

Shop my art & lifestyle products: rongrongart.com

Learn how to draw fashion illustration: rongrongdevoe.com/fashion-illustration-course

8 Years in Business and 5 Tips I Have Learned From It
rongrong 8th biz anniversary

Time flies! I can’t believe today is my 8th business anniversary. When I started sketching my very first fashion drawing on my apartment kitchen counter, I could never imagine that 8 years later I would have built a brand to inspire and empower women all around the world. 

12 years ago, with broken English and a dream to be a fashion artist, I flew across the world from Shanghai to New York City. I remember there were many of my schoolmates thinking I was silly giving up a career as a game designer plus a potential engagement to come to a strange land and take a shot at being a full time artist. But to me, the dream was everything. If we don't have dreams and goals to look forward to and work hard toward to what’s the point of living? I knew the second the airplane landed at JFK airport, I was on a mission. 

After a few years of working with luxury brands like Chanel and Louis Vuitton, I realized that the glamorous fashion shows and celebrity red carpet were not my interest. They didn’t light me up. Instead, I loved to draw everyday women. I wanted to draw women that we all can relate to. I put my focus on drawing holidays, special moments, friendships, and motherhood. So many have told me they see themselves in my drawings. There is no better feeling than to hear that, so I kept going. My work started getting attention from retailers like TJ Maxx, and Hobby Lobby. It was also getting noticed by the planner community, where I started to produce planners, and stickers of my art! Today, I have a busy e-commerce store and license my work to retailers around the world!

I look forward to what this journey will bring me and continuing to share my art every day. I am so grateful for all of you to be on this trip with me.

If you are thinking about starting your side hustle or your dream business, here are 5 things I can share with you.

  1. It’s a mindset game - Business will always have ups and downs. Having mental toughness is the most important thing to carry you through the lows and keep you grounded through the highs.

  2. Get comfortable with pivoting - The economy and consumer behavior is changing. Going with flow is important to keep you relevant. For example, I have always sold my art prints and original art. However, because I got many requests from the planner community I started creating planners and stickers with my art. Always listen to your customers!

  3. Customer service is everything - Serve your audiences with the best experience. I have spent a lot of time in the back end of my business to speed up our shipping time, and talked with our manufacturer to provide the best quality products possible to my customers.

  4. Hire a team to grow - Hire your weakness. Remember, you can’t do everything. That area you may not be doing well with, don’t hesitate to hire professionals which will save so much time and have a way better result.

  5. Always be learning - I am an artist first and foremost but in order NOT to be a starving artist I also spend a lot of time learning the business side of being an entrepreneur. Learn from people who are doing what you would love to do. Invest in yourself, success leaves clues.

Whether you just found my art, or have been following me for awhile ... thanks for being here! Cheers to 8 years in business and look forward the next many many years to come!

Love,

Rongrong

Shop planner and stickers: www.shoprongrong.com

Shop original art and prints: www.rongrongart.com

Learn how to be a thriving fashion illustrator: https://www.rongrongdevoe.com/fashion-illustration-course

How to Draw Faces - Part Two

Hi Friends! Today I want to show you all how to draw faces! In this part we will focus on coloring in your face drawings. To learn the steps of drawing a basic face, check out part one on the blog here: https://www.rongrongdevoe.com/blog/how-to-draw-faces-part-1

Watch the video below for a 20 minute tutorial and read on for a list of steps on how to color your face illustration. All you need is colored pencils or markers and your sketch of a face from part one.

This is a skill that intimidates many people in the beginning of their art journey so I am here to help remedy that! All you need is a pencil, paper, markers or colored pencils, and an eraser!

The first thing to do is to lighten your pencil lines from your original drawings with an eraser. You don’t need the lines to be profound as they are just guides for your color. Erase to the point where only you can see the lines.

First Rule for Coloring:

  • Wherever you touch color, whether its hair or face or clothing, start with the lighter color. Build the color light -> medium -> dark. (If you want to see specific colors I use, watch the video)

Tips for Coloring the Hair:

I like to start with the hair when coloring.

  1. Always use long strokes while coloring. It gives your art a smoother look.

  2. Do the left and right side together (Don’t finish the hair, eyes, or anything on one side before doing the other. This can make them look unmatched.)

  3. Make sure to fill in the hair from behind the head / neck.

  4. Once your have the base lightest color on, move onto the medium color. Use this for shadows (hair behind the head). This adds more levels to your work and makes your drawings look more vivid. With the medium you should also darken the roots and can add a few longer dark streaks in the hair.

  5. Finally add the darkest color. Close to the neck is the darkest. I have learned this from observing family and friends in real life - so I recommend really looking at your family and friends and what their hair and features look like to learn for your art. Also darken the part on the top of the hair.

Steps for Coloring the Face:

  1. I tend to use two shades on the face. Like before, start with the lightest color and use long strokes. If the color feels too light a 2nd layer of the same color can help.

  2. Apply a medium shade for shadows under the eyebrows, on the side of the nose, under the hair, under the nose, under the lips, the side of the mouth, under the chin on the neck, on the collar bones, and the shadow between skin and clothes.

  3. Now onto eyes which are the most important to portraits. First pick your color, then use a fine brush pen to outline the eyes. When outlining the eyes, follow the pencil lines from earlier and use long strokes. Then you can add some eyelashes. Don’t forget to draw eyebrows!

  4. Use the same brush pen to outline the nose and lips.

  5. For the lips, pick your lip color then use a black brush pen to outline the middle of the lips. Then add just a tad bit of line under the lip. Never outline the upper or full lips as it looks more cartoonish.

  6. Refine the face with your brush pen. Do this slow and steady because you can’t change it after the fact if you aren’t drawing digital.

  7. Outline the hair wherever the hair and face connects. Add some natural strands of hair so it doesn’t come across stiff and too perfect. Now you can outline the shoulders and start working on the clothes.

  8. To add a bit more depth you can use a white gel pen to add highlights to the eyes and lips.

Drawing and coloring faces is really all about practice. To keep improving your illustration skills, sign up for my course Fashion Illustration 101. In the course you will learn how to draw inspiring fashion illustrations and even make money from your art! It’s time to invest in your passions, learn more at: rongrongdevoe.com/fashion-illustration-course

Book Recommendations:

  • Steal Like an Artist - Austin Kleon

    • This book talks about how to combine your creativity with others and add your own spin on it. It covers why there are no new ideas and how to become a better artist buy standing on the shoulders of the greats.

  • Show Your Work - Austin Kleon

    • This book goes over how to get out of your own way with judging yourself and instead put your work out there to the world.

  • Art Inc. - Lisa Congdon

    • This is the essential guide to building your career as an artist. It goes over practical ways to monetize your art.